Section 4
Validating your app
At Faurecia Aptoide Automotive a dedicated team exists to support app developers porting and validating their apps into an automotive ecosystem.
Faurecia Aptoide validation process
The validation process has several steps.
First, a compatibility test is performed on Faurecia Aptoide standard automotive platform aiming to identify potential compatibility and functional issues on the app associated with our automotive environment. These tests focus on main functionalities, which may vary depending on the type of app under test, such as opening the app, login and account creation, purchases, video and/or audio streaming, controller compatibility, etc. All the info gathered during the initial compatibility tests, including screenshots and logs, will be shared with the app developers.
Once the app is deemed ready to be distributed with the partners it is uploaded to our platform. Each version uploaded will be the subject of a series of manual and automated tests to ensure that our initial assessment is still valid and that it doesn’t contain any type of malware by running it on our antivirus platform.
At this point, the app is ready to be shared with the OEMs but before it is made available on the platforms it will be put through a final batch of tests on the OEM device. Besides running the same tests that were run on the standard platform, specific tests might apply depending on the app. Gaming apps might need low latency and external hardware compatibility tests to be executed to guarantee a good user experience, VoD apps can be subjected to a series of network performance tests while driving the car to ensure that a smooth streaming capability is achieved. Also, for IVI implementations, applications are tested to ensure that they follow the Driver Distraction Guidelines.
After the app passes all the testing stages and is made available on one of the OEMs platforms it will continue to be monitored at each new version uploaded, any issue that might arise will be shared with the app developers to help guarantee a fast and smooth solution. Our commitment is to ensure both OEMs and Developers satisfaction.
Testing the apps in an automotive environment yourself
Besides Faurecia Aptoide validation procedures, app developers might want to replicate Faurecia Aptoide compatibility tests. Unfortunately given the lack of devices available, it might be difficult to replicate.
Even though this is not a perfect testing scenario, an emulator can help replicate most of the issues identified on Faurecia Aptoide reports.
Requirements
Android Studio installed (https://developer.android.com/studio/install)
- SDK 29
- SDK 30
- Snapp Automotive
ADB installed on your macOS/Windows/Linux
Integrate Snapp Automotive into Android Studio
- Open your SDK Manager
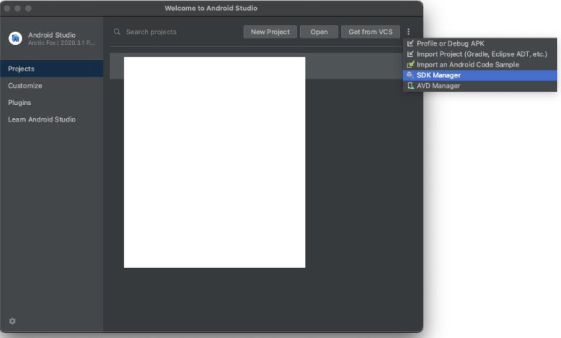
- Navigate to “SDK Update Sites“ separator located on the top right.

To integrate Snapp Automotive into Android Studio:
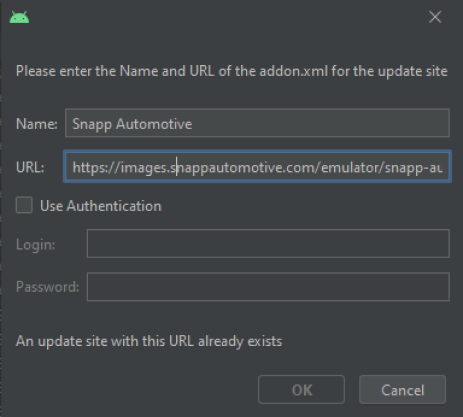
- Click add button located on bottom left (+)
- Fill information in the form:
- Name: Snapp Automotive
- URL: https://downloads.snappautomotive.com/emulator/snapp-automotive-sys-img2-1.xml
- Click “Ok”
- Restart Android Studio
Android Studio SDK Platform configuration:
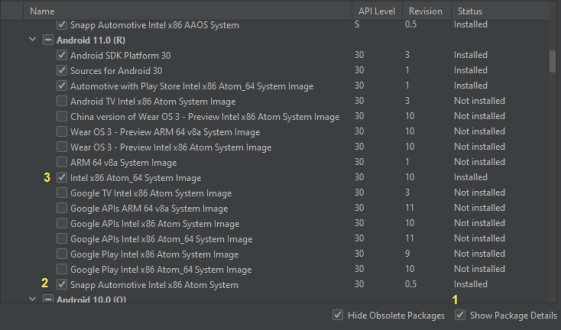
- Open SDK Manager
- To install original Android AOSP emulator images and Snapp Automotive images perform follow steps:
- Activate “Show package Details“
- Activate “Snapp Automotive Intel x86 Atom System“ for Android 11.0 (R)
- Activate “Intel x86 Atom_64 System Image“ for Android 11.0 (R)
- Click “Ok”
- Restart Android Studio (after download and installation finish)
Note: (For Android 10.0 (Q) version, activate “Intel x86 Atom_64 System Image“ on Android 10 item)
Android Virtual Device creation
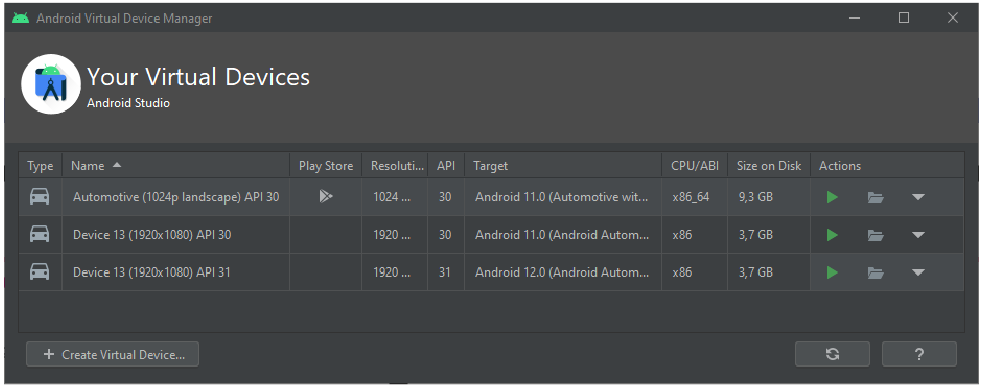
- Open SDK Manager
-
Click on “+ Create Virtual Device…”
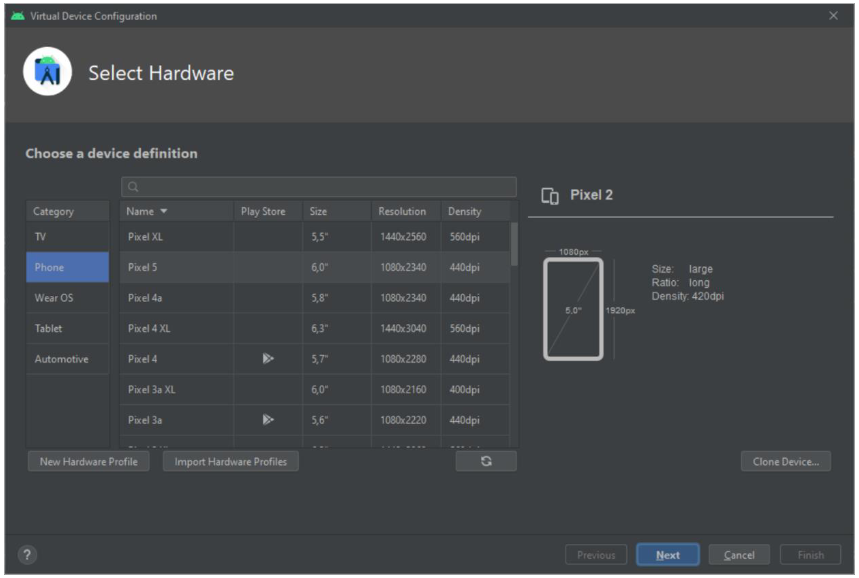
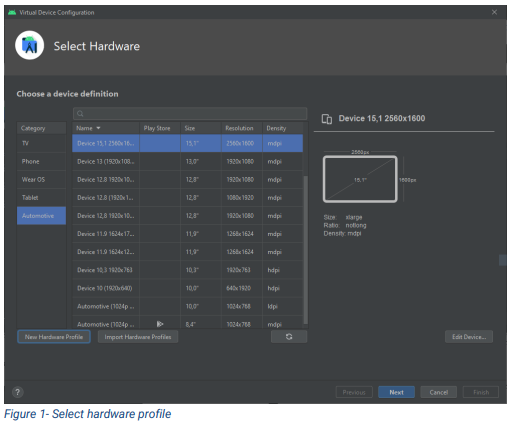
3. Click on “Import Hardware Profiles“ and import all the necessary profiles.
Hardware profiles
Device 1 | Device 2 | Device 3 | Device 4 | Device 5 | |
Operating System | Android 9/10/11 | Android 12 | Android 11 | Android 10 | Android (AAOS) 12 |
Architecture | TBD | TBD | TBD | arm64-v8a, armeabi-v7a | arm64-v8a, armeabi-v7a |
RAM | ND | ND | ND | 16 GB | ND |
Screen Size | 10” | 10” | 10” | 14,4“ | 10,3 |
App Usable Area | TBD | TBD | TBD | 2504x1162 | 1920x763 |
Screen Density | 220 DPI | 220 DPI | 220 DPI | 200 DPI | 200 DPI |
Screen Orientation | Landscape | Landscape | Landscape | Landscape | Landscape |
Hardware Profile |
Device 6 | Device 7 | Device 8 | Device 9 | Device 10 | |
Operating System | Android (AAOS) 12 | Android 9 | Android (AAOS) 11 | Android (AAOS) 12 | Android (AAOS) 12 |
Architecture | arm64-v8a, armeabi-v7a | arm64-v8a, armeabi-v7a | arm64-v8a, armeabi-v7a | arm64-v8a, armeabi-v7a | arm64-v8a, armeabi-v7a |
RAM | ND | 8 GB | 8 GB | 4 GB | ND |
Screen Size | 14,6” | 12,8” | 15,1“ | 10,1" | 14,9" |
App Usable Area | 1280x740 | 1752x850 | 1648x1290 | 1120x558 | 2880x763 |
Screen Density | 200 DPI | 160 DPI | 160 DPI | 160 DPI | 200 DPI |
Screen Orientation | Landscape | Landscape | Landscape | Landscape | Landscape |
Hardware Profile |
Device 11 | Device 12 | Device 13 | Device 14 | |
Operating System | Android 10 | Android (AAOS) 12 | Android (AAOS) 12 | Android 10 |
Architecture | arm64-v8a, armeabi-v7a | arm64-v8a, armeabi-v7a | arm64-v8a, armeabi-v7a | arm64-v8a, armeabi-v7a |
RAM | ND | ND | ND | ND |
Screen Size | 12,3" | 10,1" | 10,4" | 11,9" |
App Usable Area | 2400x700 | 1120x670 | 960x1018 | 1624x1286 |
Screen Density | 209 DPI | 160 DPI | 160 DPI | 201DPI |
Screen Orientation | Lanscape | Lanscape | Portrait | Landscape |
Hardware Profile |
AVD configuration
After importing all necessary hardware profiles, you can create emulator from list of available profiles.
It is possible to search for the names that were set for each hardware profile.
Then,
- Select hardware profile needed
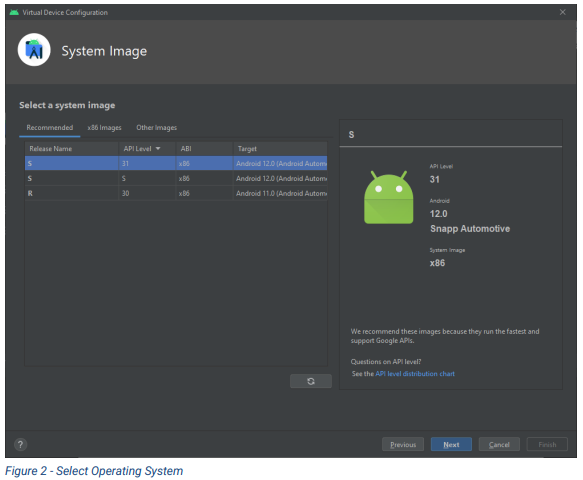
- Select Operating System associated to that specific hardware profile consulting table above
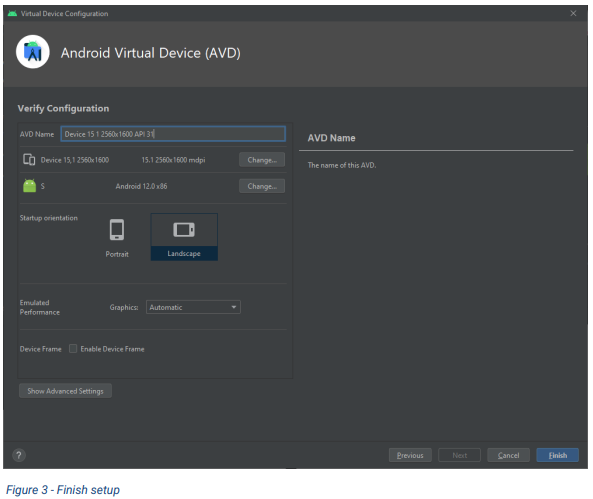
- Finish hardware profile setup
Running an app in the emulator
- Start the emulator.
- Once the emulator is running and the system has booted, the app can be installed with drag-n-drop.

If the app is installed successfully, you can scroll up to open the app drawer and you’ll find the app there available for testing.
If the app hasn’t been installed, an error message will be displayed. The most probable cause for unsuccessful installation is the lack of support for x86 or incompatible screen density. It’s possible to get a more detailed failure message by using adbs’ install command (https://developer.android.com/studio/command-line/adb).